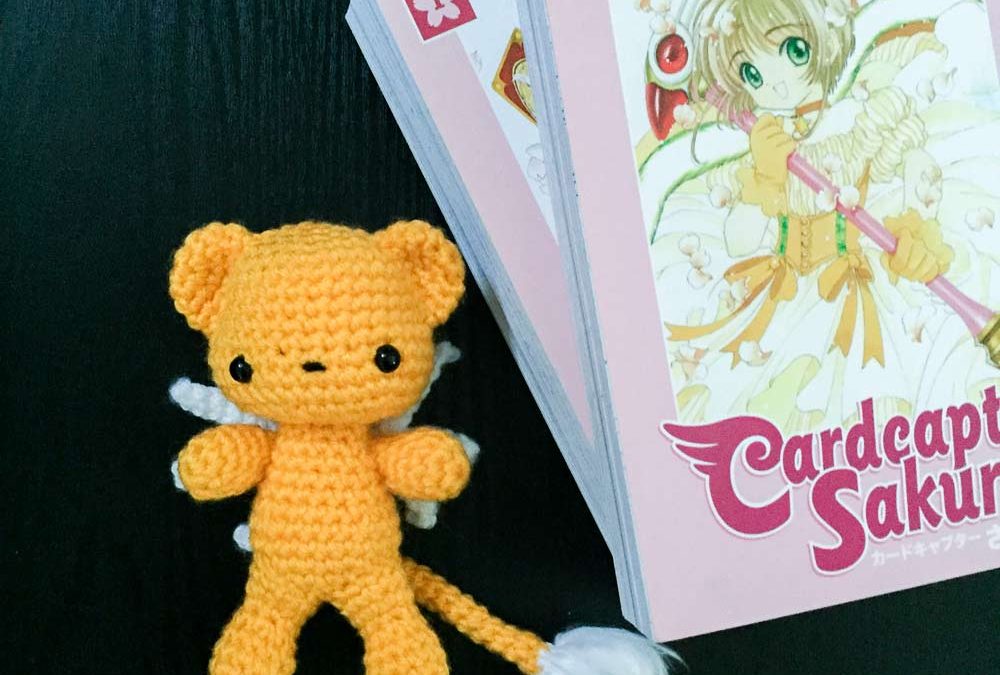
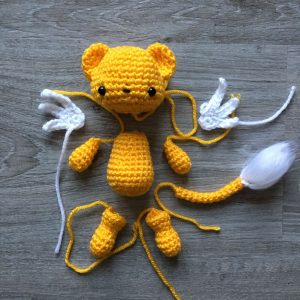
Kero from Cardcaptor Sakura is bossy and gluttonous but oh so adorable.
Crochet your own little guardian of the Clow Cards in his false form.
MATERIALS
Yarns – Yellow (A), White (B), small amount of black for the nose
8 mm safety eyes
polyester fibrefill
size 7 (4.5 mm) crochet hook
yarn needle
pet slicker brush
ABBREVIATIONS
ch = chain
st = stitch
sc = single crochet
inc = single crochet 2 into the same stitch
dec = decrease over next two stitches (single crochet 2 stitches together or use invisible decrease)
HEAD
R1: sc 6 into magic ring (6)
R2: inc in each st around (12)
R3: (sc 1, inc) six times (18)
R4: (sc 2, inc) six times (24)
R5: (sc 3, inc) six times (30)
R6-7: sc in each st around (30)
R8: sc 8, inc, inc, sc 10, inc, inc, sc 8 (34)
R9: sc in each st around (34)
R10: sc 15, inc, sc 2, inc, sc 15 (36)
R11: sc in each st around (36)
R12: (sc 4, dec) three times, (dec, sc 4) three times (30)
R13: (sc 3, dec) three times, (dec, sc 3) three times (24)
R14: (sc 2, dec) six times (18)
R15: (sc 1, dec) six times (12)
Finish with a sl st. Leave a long tail for sewing.
EAR (Make 2)
R1: sc 6 into magic ring (6)
R2: inc in each st around (12)
R3: (sc 3, inc) three times (15)
R4: sc in each st around (15)
Finish with a sl st. Leave a long tail for sewing.
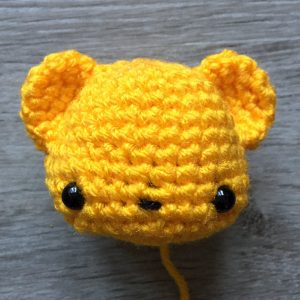
Sew ears onto the head. Insert safety eyes 9 rows from the top and about 6 stitches apart. Embroider the nose with a short strand of black yarn.
BODY
R1: sc 6 into magic ring (6)
R2: inc in each st around (12)
R3: (sc 1, inc) six times (18)
R4: (sc 2, inc) six times (24)
R5-6: sc in each st around (24)
R7: (sc 4, dec) four times (20)
R8-9: sc in each st around (20)
R10: (sc 3, dec) four times (16)
R11-12: sc in each st around (16)
Finish with a sl st. Cut a short tail and weave in.
ARM (Make 2)
R1: sc 6 into magic ring (6)
R2: inc in each st around (12)
R3: (sc 4, dec) two times (10)
R4: sc in each st around (10)
R5: (sc 3, dec) two times (8)
R6: sc in each st around (8)
R7: (sc 2, dec) two times (6)
Finish with a sl st. Leave a long tail for sewing.
LEG (Make 2)
R1: sc 6 into magic ring (6)
R2: (sc 1, inc) three times (9)
R3: (sc 2, inc) three times (12)
R4-5: sc in each st around (12)
R6: (sc 1, dec) four times (8)
R6: (sc 3, inc) two times (10)
R7: (sc 4, inc) two times (12)
R8: sc in each st around (12)
Finish with a sl st. Leave a long tail for sewing.
RIGHT WING
The right wing is worked in rows.
With B, ch 7.
R1: Skip first ch from hook, sc 5, sl st 1, ch 1 and turn
R2: sc 2, ch 6 and turn
R3: Skip first ch from hook, sc 6, sl st 1, ch 1 and turn
R4: sc 2, ch 7 and turn
R5: Skip first ch from hook, sc 7, sl st 1
Finish with a sl st into the edge stitch of R1. Leave a long tail for sewing.
LEFT WING
The left wing is worked in rows.
With B, ch 9.
R1: Skip first ch from hook, sc 7, sl st 1, ch 1 and turn
R2: sc 2, ch 6 and turn
R3: Skip first ch from hook, sc 6, sl st 1, ch 1 and turn
R4: sc 2, ch 5 and turn
R5: Skip first ch from hook, sc 5, sl st 1
Finish with a sl st into the edge stitch of R1. Leave a long tail for sewing.
TAIL
R1: sc 5 into magic ring (5)
R2-14: sc in each st around (5)
Finish with a sl st. Leave a long tail for sewing.
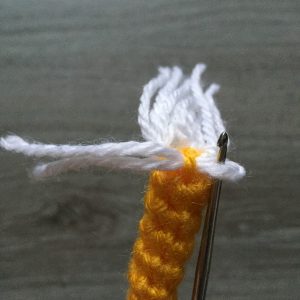
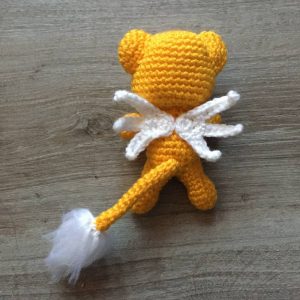
Cut strands of white yarn about 4 inches (~10 cm) long and attach them to the end of the tail using a latch hook method.
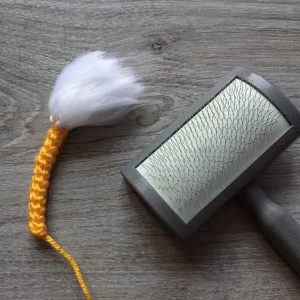
Using a pet slicker, brush out the white yarn to create the fluff on the tail.
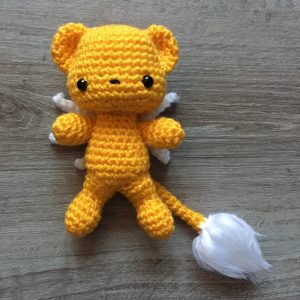
ASSEMBLY
Sew HEAD to BODY.
Sew ARMS to BODY.
Sew LEGS to BODY.
Sew TAIL to BODY.
Sew WINGS to BODY.

Gostaria dessa receita em português