When I first started crocheting amigurumi, I tended to avoid patterns that required changing colour because I didn’t know how to do it properly. I figured that you would just drop whatever colour you were working with and start crocheting with the new colour but I would end up with a line of the previous colour above my new stitch.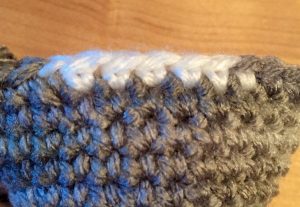
After a bit of frustration and experimenting, I discovered that making a seamless transition from one colour to another is actually pretty simple. If changing colour in the middle of a round has been giving you anxiety, hopefully this breakdown can help.
The portion of the pattern that I will be using for this tutorial is from my Sleepy Cat pattern found in my Etsy shop here.
![]()
The line above is row 12 for the cat’s head. I am using grey as my main colour A, and in the middle of the round I will be switching to colour B which is white.
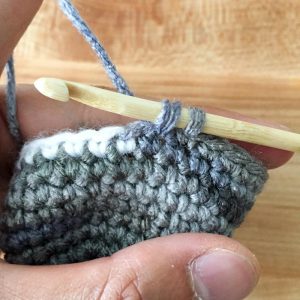
The first 13 single crochet (sc) stitches are crocheted in grey like you would normally. When you do the 14th single crochet, leave it unfinished with two loops left on your hook as shown.
Yarn over with colour B, then draw through both loops on the hook to complete the 14th single crochet.
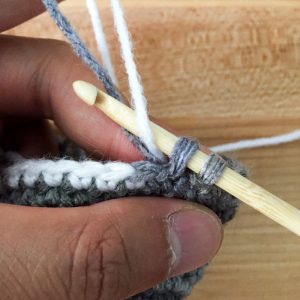
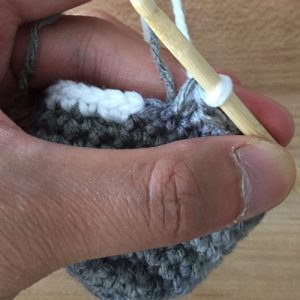
Cut colour A leaving a one inch tail. Complete the next 7 sc with colour B. Leave the 8th sc unfinished with two loops remaining on the hook.
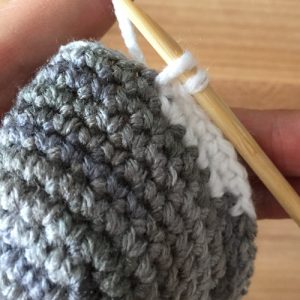
Yarn over with colour A, then draw through both loops on the hook to complete the 8th single crochet.
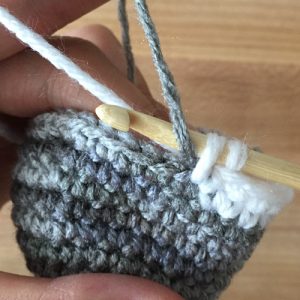
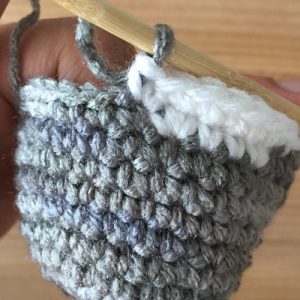
Cut colour B leaving a one inch tail. Crochet to the end of the round using colour A.

You will end up with a lot of yarn ends on the inside of your work but it won’t matter since you will be closing up the head and the yarn tails will all be hidden. No need to sew in any ends.

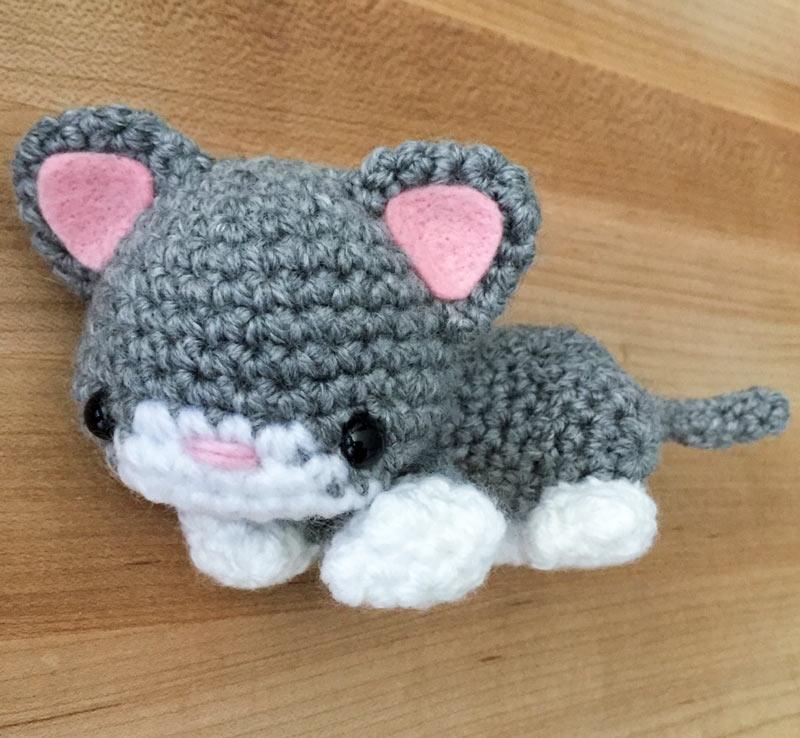

I tie the tails together, after i complete that section.
Yes this is also how i figured the best color change technique!! Thats for sharing!!