Alpa-can you handle how adorable and squishy this thing looks? Alpa-cancel your plans so that you can crochet up your own amigurumi alpaca!
Comment below or share your alpaca on Instagram (remember to tag @sirpurlgrey)! I alpa-can’t wait to see them!
MATERIALS
Yarns – Main colour (A), Face/Ear colour (B), small amount of black for the nose
8 mm safety eyes
polyester fibrefill
size 7 (4.5 mm) crochet hook
yarn needle
pet slicker brush
ABBREVIATIONS
ch = chain
st = stitch
sc = single crochet
inc = single crochet 2 into the same stitch
dec = decrease over next two stitches (single crochet 2 stitches together or use invisible decrease)
sl st = slip stitch
EARS (Make 2)
R1: With B, sc 5 in magic ring (5)
R2: sc 2, inc, sc 2 (6)
R3: (sc 1, inc) three times (9)
Finish with a sl st. Cut a long tail for sewing.
FACE
R1: With B, sc 5 in magic ring (5)
R2: inc in each st around (10)
R3: (sc 4, inc) two times (12)
Finish with a sl st. Cut a long tail for sewing. Using a small amount of black yarn, embroider a nose in the middle of the piece.
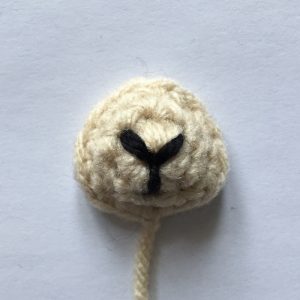
HEAD/BODY BASE
R1: With A, sc 6 into magic ring (6)
R2: inc in each st around (12)
R3: (sc 1, inc) six times (18)
R4: (sc 2, inc) six times (24)
R5-6: sc in each st around (24)
R7: sc 8, switch to B, sc 8, switch to A, sc 8 (24)
R8: sc 7, inc, switch to B, sc 8, switch to A, inc, sc 7 (26)
R9: sc 9, switch to B, sc 8, switch to A, sc 9 (26)
R10: sc 10, switch to B, sc 6, switch to A, sc 10 (26)
R11: (sc 11, dec) two times (24)
R12: (sc 2, dec) six times (18)
R13: sc in each st around (18)
At this point, you can add the facial details before closing up the body. Sew the FACE onto the HEAD. Insert the safety eyes.
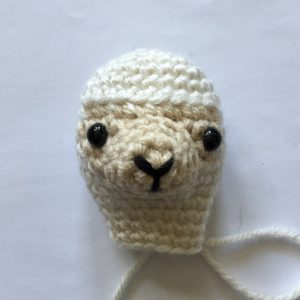
R14: (sc 7, dec) two times (16)
R15-16: sc in each st around (16)
R17: (sc 7, inc) two times (18)
R18: (sc 2, inc) six times (24)
R19: sc in each st around (24)
R20: (sc 3, inc) six times (30)
R21-28: sc in each st around (30)
R29: (sc 3, dec) six times (24)
R30: sc in each st around (24)
R31: (sc 2, dec) six times (18)
R32: (sc 1, dec) six times (12)
R33: dec six times (6)
Finish with a sl st. Cut a short tail and weave in to close up the body.
To fuzz up the body, use a pet slicker to brush out the yarn.
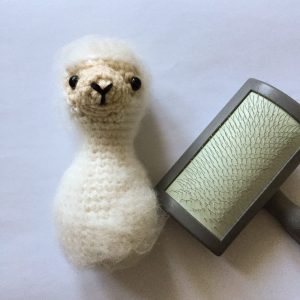
ARMS (Make 2)
R1: With B, sc 5 in magic ring (5)
R2: inc in each st around (10)
R3: Switch to A, (sc 3, dec) two times (8)
R4-6: sc in each st around (8)
R7: (sc 2, dec) two times (6)
Finish with a sl st. Cut a long tail for sewing.
FEET (Make 2)
R1: With B, sc 5 in magic ring (5)
R2: inc in each st around (10)
R3: Switch to A, (sc 3, dec) two times (8)
R4-5: sc in each st around (8)
R6: (sc 2, dec) two times (6)
Finish with a sl st. Cut a long tail for sewing.
TAIL
R1: With B, sc 5 in magic ring (5)
R2: sc 2, inc, sc 2 (6)
R3: (sc 2, inc) two times (8)
Finish with a sl st. Cut a long tail for sewing.
ASSEMBLY
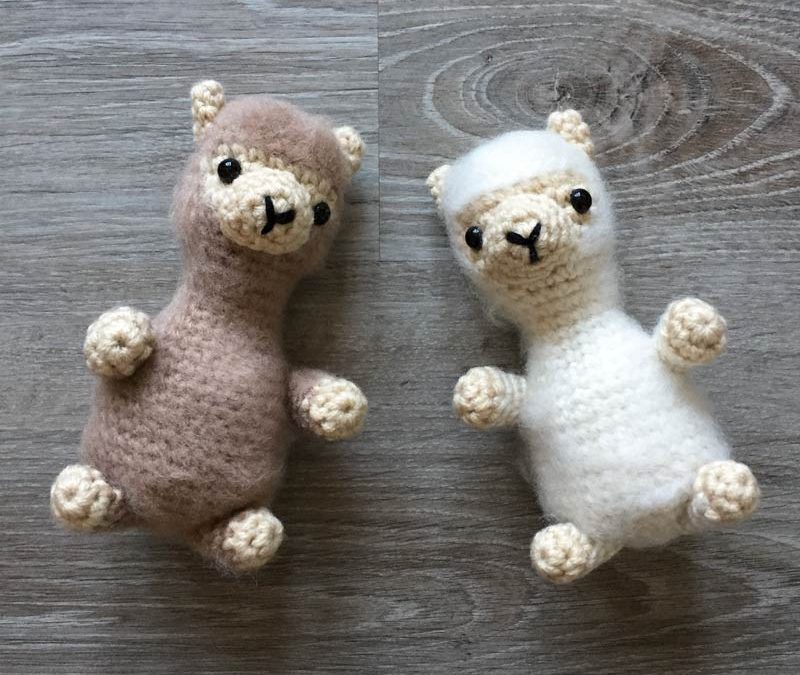
Sew EARS to HEAD.
Sew ARMS to BODY.
Sew FEET to BODY.
Sew TAIL to BODY.

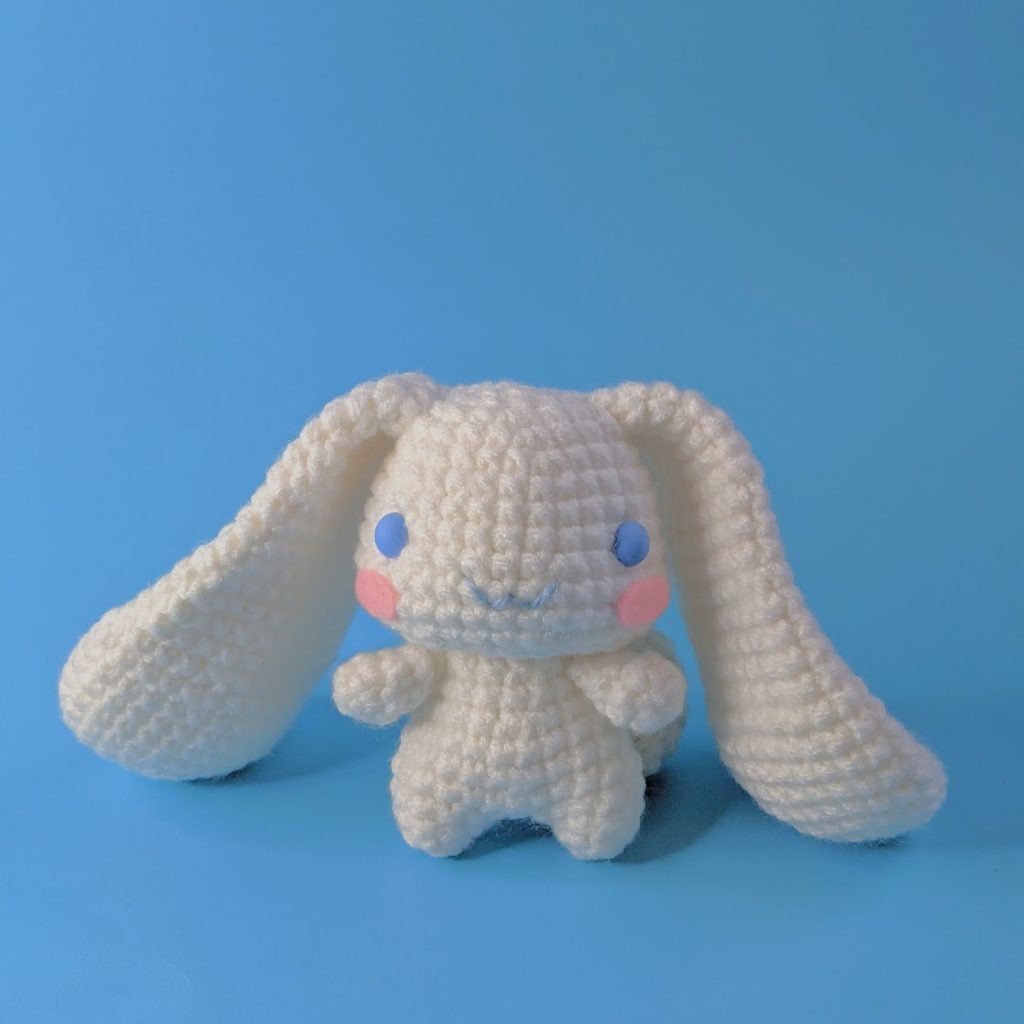
I have been following this pattern and having real trouble with the colour change on the head. When changing colour do you count the colour change as the first stitch in that colour, or the stitch after that? I have tried both ways and both ways the face colour ends up on a slant – even though I have the correct amount of stitches at the end of every round. Rows 7 to 9 I’m struggling with. Please help??
Hi Avril, when it says “sc 3, change to B, sc 5”, for example, you would single crochet 3 stitches, pick up the new color and then single crochet 5 in the new color. Unfortunately when crocheting in the round with different colors, the slanting is kind of unavoidable. Hope that helps!
How many cm does it has?
It is about 18 cm tall.