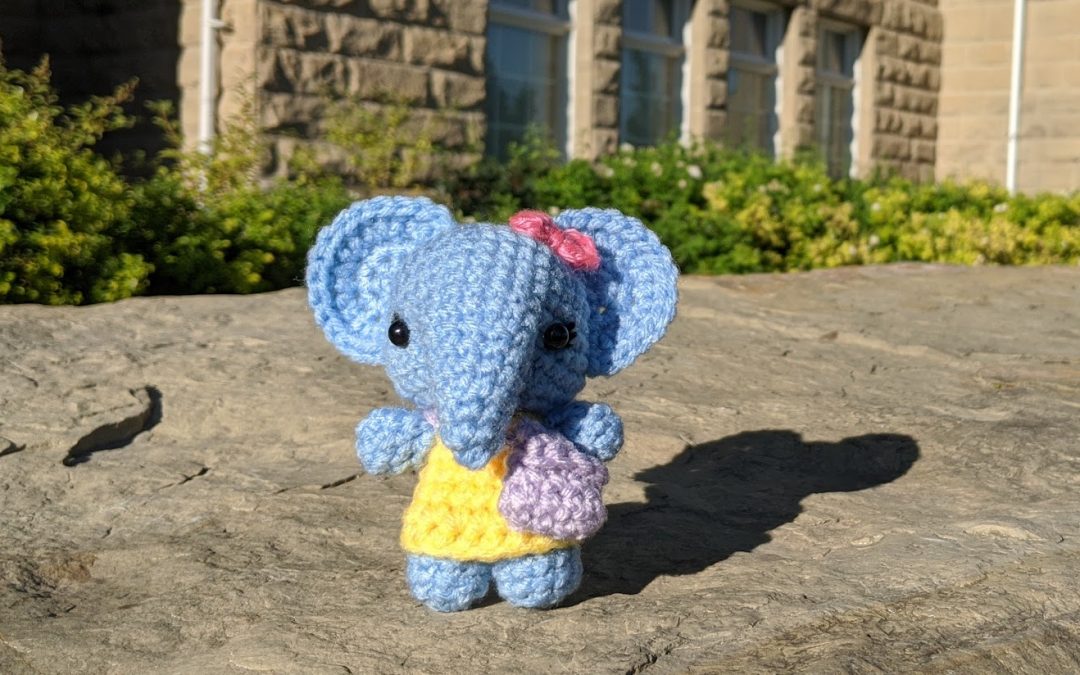
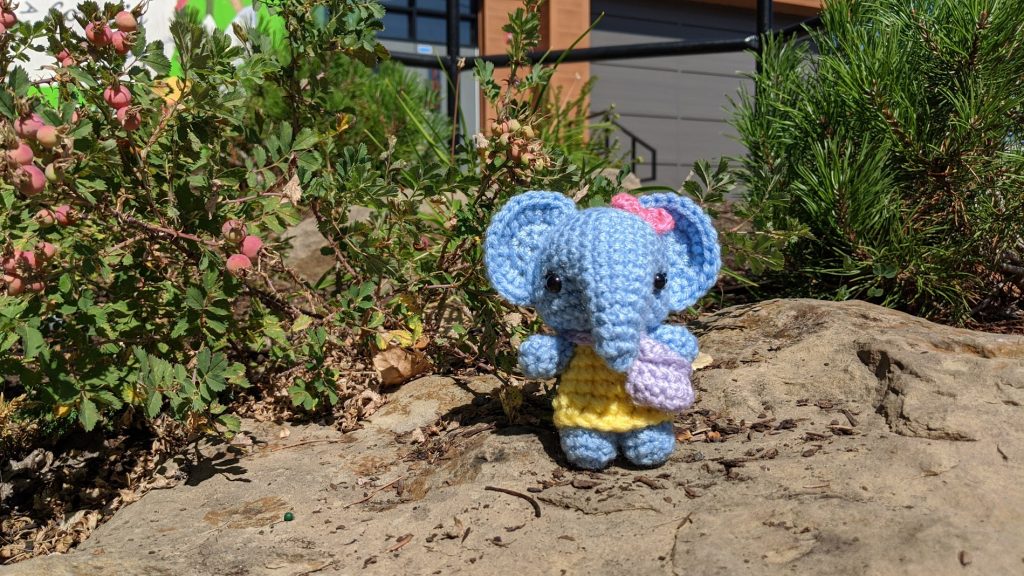
This sweet, little elephant is the second pattern in my back to school series of amigurumi. She’s got a cute bow accessory and carries her books in a stylish messenger bag.
Before I started designing this pattern, I thought about animals that I haven’t ever crocheted. I love elephants but I can’t believe it took this long for me to make one. The problem solving road block that I had with this design was the trunk situation. My goal was to have the head and trunk to be seamless, meaning that I wanted to avoid crocheting the trunk separately and then sewing it on. The solution was leaving a gap where the top of the trunk was going to be by chaining and skipping over an entire section when crocheting the main head.
I’m really proud of this pattern because it turned out so cute and posed a design challenge to overcome which is one of the reasons why I love crocheting. I hope that you enjoy crocheting your own amigurumi elephant friend with this crochet pattern.
I made a video to accompany the pattern and help you through it. You can find it on my YouTube channel HERE, or watch it down below.
MATERIALS
Yarns – blue (B), yellow (Y), pink (P), purple (PR), black (BL)
polyester fibrefill
two 8.0 mm safety eyes
size 8 (5.0 mm) crochet hook
ABBREVIATIONS
ch = chain
st = stitch
sc = single crochet
sl st = slip stitch
inc = single crochet 2 into the same stitch
dec = decrease over next two stitches (single crochet 2 stitches together or use invisible decrease)
EAR (Make 2)
R1 With B, sc 5 in magic ring, ch 1 and turn
R2 Skip first ch, inc five times, ch 1 and turn
R3 Skip first ch, (sc 1, inc) five times, ch 1 and turn
R4 Skip first ch, sc 15
Fasten off. Cut a long tail for sewing.
HEAD
R1 With B, sc 6 in magic ring (6)
R2 inc in each st around (12)
R3 (sc 1, inc) six times (18)
R4 (sc 2, inc) six times (24)
R5 (sc 3, inc) six times (30)
R6-8 sc in each st around (30)
R9 sc 7, inc, inc, sc 2, ch 4, skip 8 st, sc 2, inc, inc, sc 7 (30)
R10-11 sc in each st around (30)
R12 (sc 3, dec) six times (24)
R13 (sc 2, dec) six times (18)
R14 (sc 1, dec) six times (12)
R15 dec six times (6)
Finish with a sl st. Cut a short tail for sewing.
TRUNK
With B, draw the yarn through the trunk opening on the head near the first skipped st.
R1-2 sc in each st around (12)
R3 (sc 4, dec) two times (10)
R4-5 sc in each st around (10)
R6 (sc 3, dec) two times (8)
R7 sc in each st around (8)
R8 (sc 2, dec) two times (6)
Finish with a sl st. Cut a short tail for sewing. Sew the opening of the trunk closed.
We will insert the safety eyes before closing up the head. Place the eyes below R9 and on either side of the trunk. Sew the opening of the head closed.
BOW
With P, chain 6.
R1 Skip first ch, sc 5, turn to work other side of ch, sc 5
Finish with a sl st. Cut a long tail for sewing.
Weave the tail towards the middle of the bow and wrap it tightly. Weave the tail into the back of the bow.
FIRST LEG
R1 With B, sc 6 in magic ring (6)
R2 (inc, inc, sc 1) two times (10)
R3 sc in each st around (10)
Finish with a sl st. Cut a short tail and weave in.
SECOND LEG/BODY
R1 With B, sc 6 in magic ring (6)
R2 (inc, inc, sc 1) two times (10)
R3 sc in each st around (10)
Next you will be joining this piece to the first leg.
R4 Chain 1, sc 10 around the first leg, sc 1 into the ch 1 space, sc 10 around the second leg, sc 1 in to the ch 1 space (22)
R5 (sc 9, dec) two times (20)
Finish with a sl st. Cut a short tail and weave in.
With Y, chain 20. In the next row you will be crocheting into the yellow chain and the blue piece at the same time.
R6 (sc 8, dec) two times (18)
R7 sc in each st around (18)
R8 (sc 7, dec) two times (16)
R9 sc in each st around (16)
R10 (sc 2, dec) four times (12)
Finish with a sl st. Cut a long tail for sewing.
ARM (Make 2)
R1 With B, sc 6 in magic ring (6)
R2 (sc 2, inc) two times (8)
R3 sc 6, dec (7)
R4 sc 5, dec (6)
Finish with a sl st. Cut a long tail for sewing.
TAIL
With B, chain 6.
Skip first ch, sl st 5.
Fasten off. Cut a long tail for sewing.
MESSENGER BAG
With PR, chain 6.
R1 Skip first ch, sc 5, turn to work other side of ch, sc 5 (10)
R2-3 inc in each st around (10)
Next you will be crocheting the front flap working in rows.
R4 ch 1 and turn, sc 5 in front loops only
R5 ch 1 and turn, sc 5
Fasten off. Cut a long tail for sewing. Sew the flap closed.
For the bag strap:
With PR, chain 14.
Fasten off. Cut a long tail for sewing. Sew the strap to the sides of the bag.


Your designs are brilliant. Despite being small, you immediately recognize what it is and they are also very endearing. This is art.
Thanks so much! That means a lot!
For the trunk opening, does chaining 4 and skipping 10 create 14sts? I’m just confused.
Otherwise, super cute design!
Chaining 4 only creates 4 stitches. You can watch the video to help!
I love your designs. Just wanted to point out that on R9 of the head, the text says miss 10st, which did not add up. The video is correct, says miss 8st. Just thought I’d let you know. Thank you.
Thank you! I’ll get that fixed!