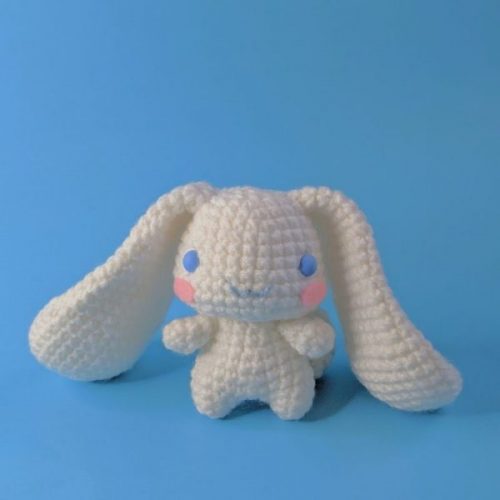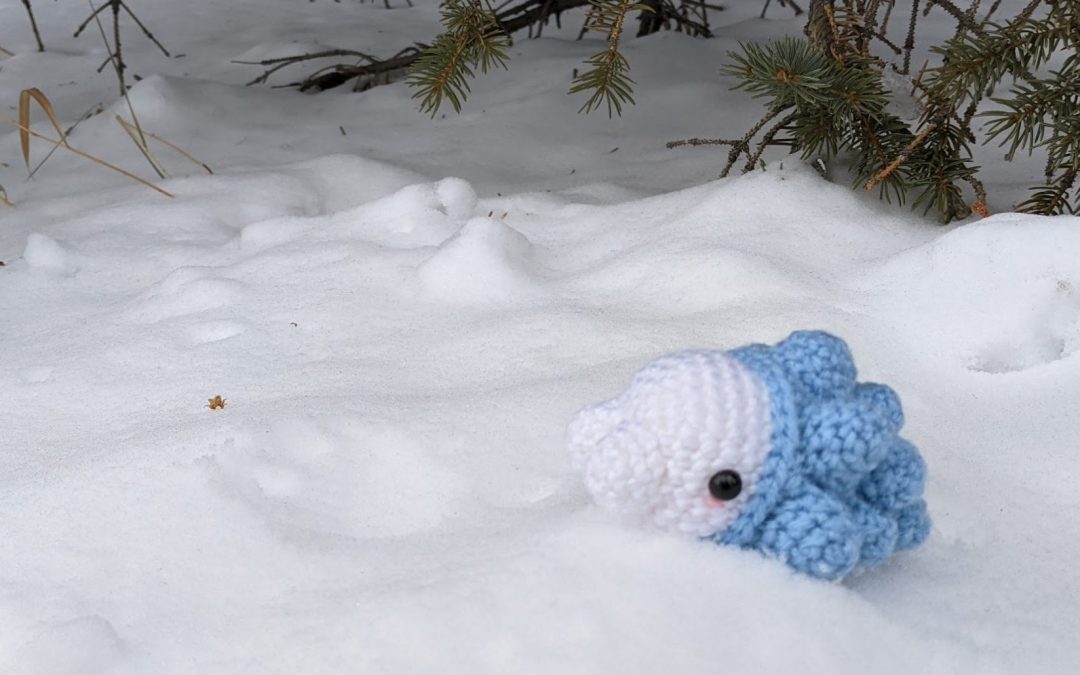
Snom is the cute little Ice/Bug Pokemon introduced in the Sword and Shield games in the Pokemon series.
When the new Pokemon were shown close to the release of the games, Snom became an instant hit and there were memes galore made starring this little ice larva. It has such an endearing innocence in how it looks and from its Pokedex entry. I mean, it eats snow to grow as big as it can in order to evolve. How cute is that?!
Crocheting Snom with this pattern is relatively quick since there’s only two big pieces (head and body) to make, but a little tedious when it comes to making the spikes on its back (13 spikes). It’s definitely one of those patterns that’s fast to crochet up the pieces but there is quite a bit of sewing involved.
Along with the written pattern below, I’ve made a video tutorial to help you crochet and assemble Snom. Check it out on my YouTube channel HERE or watch below.
MATERIALS
Medium/worsted weight yarn – white (W), light blue (B), pink (P)
Size 8 (5.0 mm) crochet hook
Scissors, yarn needle
Polyester fibrefill
Two 8.0 mm safety eyes
ABBREVIATIONS
ch = chain
st = stitch
sc = single crochet
sl st = slip stitch
inc = single crochet 2 into the same stitch
dec = decrease over next two stitches (single crochet 2 stitches together or use invisible decrease)
HEAD
R1 With W, sc 6 in magic ring (6)
R2 inc in each st around (12)
R3 (sc 1 , inc) six times (18)
R4 (sc 2, inc) six times (24)
R5 (sc 3, inc) six times (30)
R6-9 sc in each st around (30)
Finish with a sl st. Cut a short yarn tail and weave in.
Insert the safety eyes below R7.
OPTIONAL: Cut two strands of pink yarn and embroider a thin line under the eyes for blush marks. (See video at 15:14)
MOUTH PIECE (Make 2)
R1 With W, sc 6 in magic ring (6)
R2 (inc, inc, sc 1) two times (10)
R3 sc in each st around (10)
Finish with a sl st. Cut a long yarn tail for sewing.
BODY
R1 With B, sc 6 in magic ring (6)
R2 inc in each st around (12)
R3 (sc 3, inc) three times (15)
R4 (sc 4, inc) three times (18)
R5 (sc 5, inc) three times (21)
R6 sc in each st around (21)
R7 (sc 6, inc) three times (24)
R8 sc in each st around (24)
R9 (sc 3, inc) six times (30)
R10 sc in each st around (30)
R11 (sc 14, inc) two times (32)
Finish with a sl st. Cut a long yarn tail for sewing.
LARGE SPIKE (Make 5)
R1 With B, sc 6 in magic ring (6)
R2 (sc 2, inc) two times (8)
R3 (sc 3, inc) two times (10)
Finish with a sl st. Cut a long tail for sewing.
MEDIUM SPIKE (Make 5)
R1 With B, sc 6 in magic ring (6)
R2 (sc 1, inc) three times (9)
Finish with a sl st. Cut a long tail for sewing.
SMALL SPIKE (Make 3)
R1 With B, sc 6 in magic ring (6)
R2 sc 5, inc (7)
Finish with a sl st. Cut a long tail for sewing.
ASSEMBLY
Stuff the head and the body.
Position the head and the body so that the edge of the body overlaps the edge of the head. Sew the head to the body using the yarn tail of the body. (See video at 16:46)
Lightly stuff the mouth pieces and sew them to the front of the head. (See video at 18:53)
Lightly stuff the large spikes and sew them to the body near where the body meets the head. (See video at 20:28)
Lightly stuff the medium spikes and sew them to the body behind the large spikes.
Lightly stuff the small spikes and sew them to the body behind the medium spikes.