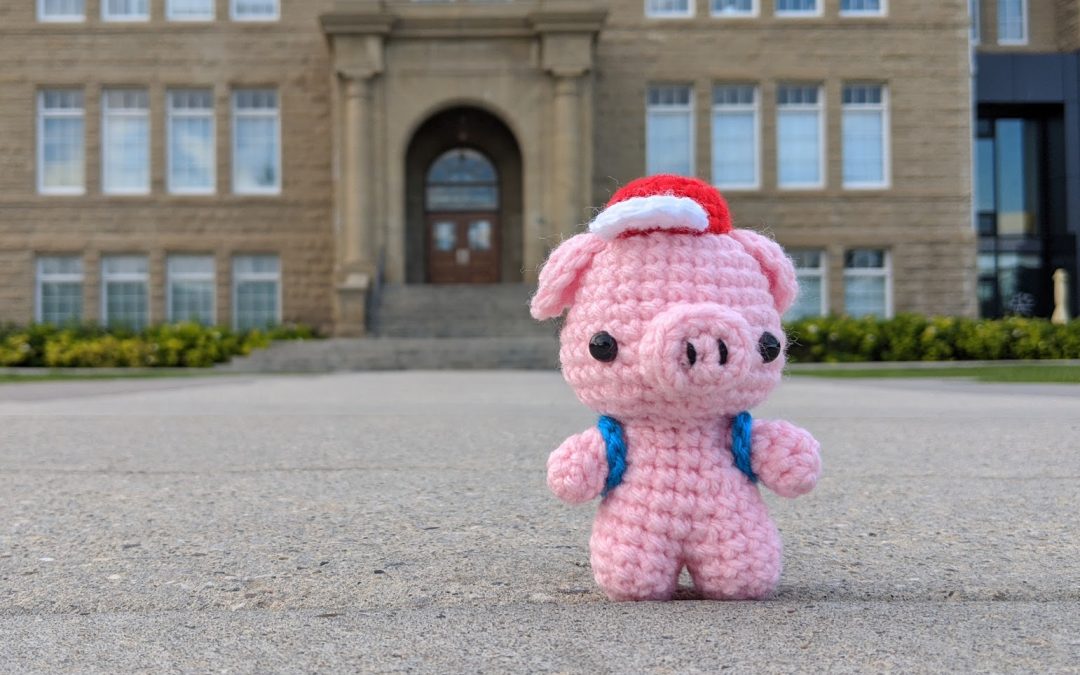
September is almost here and this little piggy is ready for class in his back to school cool!
This school year is definitely going to start off a lot different as we’re now including face masks in the school supplies shopping list, and learning in a social distanced classroom. Being a high school teacher, I’ll have to be more fastidious in maintaining a safe environment for my students as well as myself. I don’t want to speak on others’ behalf, but I’m confident that if you have little ones heading back to school that their teachers will be doing their best to keep your children safe.
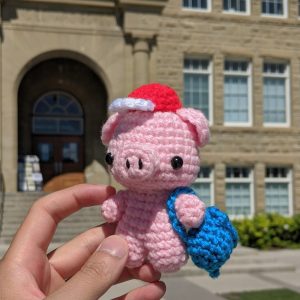
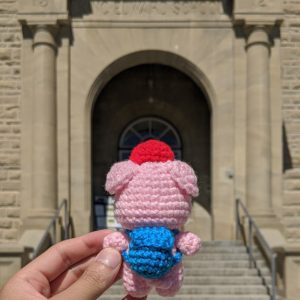
I wanted to create a series of patterns this month in the theme of back to school. I have planned a variety of amigurumi animals and accessories to outfit them with so they dress to impress. The first is our schoolboy pig pattern, carrying his snacks and books in a snazzy backpack and looking swag with his tilted cap. I hope you enjoy this amigurumi pig pattern and look forward to seeing more school friends!
I made a video to accompany the pattern and help you through it. You can find it on my YouTube channel HERE, or watch it down below.
MATERIALS
Yarns – pink (P), white (W), red (R), blue (B), black (BL)
polyester fibrefill
two 8.0 mm safety eyes
size 8 (5.0 mm) crochet hook
ABBREVIATIONS
ch = chain
st = stitch
sc = single crochet
sl st = slip stitch
inc = single crochet 2 into the same stitch
dec = decrease over next two stitches (single crochet 2 stitches together or use invisible decrease)
HEAD
R1 With P, sc 6 in magic ring (6)
R2 inc in each st around (12)
R3 (sc 1, inc) six times (18)
R4 (sc 2, inc) six times (24)
R5-7 sc in each st around (24)
R8 (sc 3, inc) six times (30)
R9-10 sc in each st around (30)
R11 (sc 3, dec) six times (24)
R12 (sc 2, dec) six times (18)
R13 (sc 1, dec) six times (12)
R14 dec six times (6)
Finish with a sl st. Cut a short tail for sewing.
We will place the eyes onto the head before closing it. Insert the safety eyes 9 rows from the top and 8 stitches apart. Stuff the head and then sew the opening closed.
EAR (Make 2)
R1 With P, sc 6 in magic ring (6)
R2 inc in each st around (12)
R3 sc 5, inc, inc, sc 5 (14)
Finish with a sl st. Cut a long tail for sewing.
SNOUT
R1 With P, sc 6 in magic ring (6)
R2 (inc, inc, sc 1) two times (10)
R3 In back loops only, sc in each st around (10)
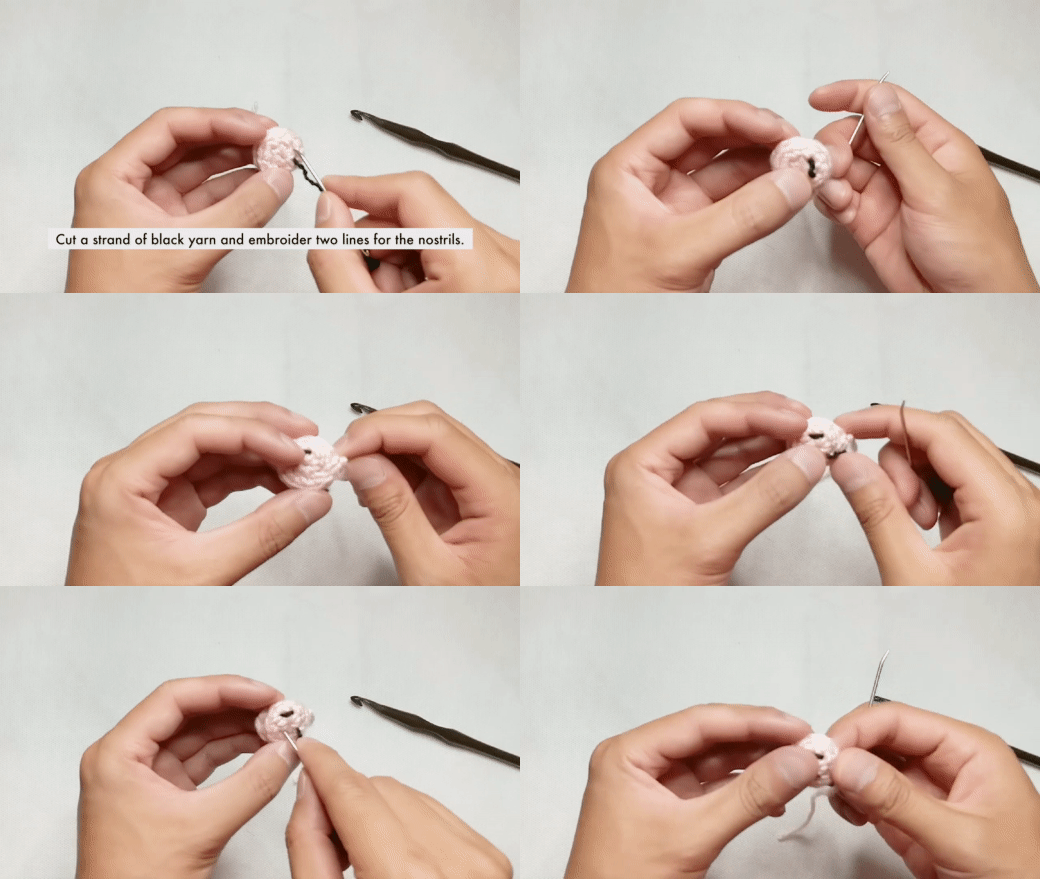
Finish with a sl st. Cut a long tail for sewing. Cut a strand of black yarn and embroider two lines for the nostrils.
ARM (Make 2)
R1 With P, sc 6 in magic ring (6)
R2 (sc 2, inc) two times (8)
R3 sc 6, dec (7)
R4 sc 5, dec (6)
Finish with a sl st. Cut a long tail for sewing.
FIRST LEG
R1 With P, sc 6 in magic ring (6)
R2 (inc, inc, sc 1) two times (10)
R3 sc in each st around (10)
Finish with a sl st. Cut a short tail and weave in.
SECOND LEG/BODY
R1 With P, sc 6 in magic ring (6)
R2 (inc, inc, sc 1) two times (10)
R3 sc in each st around (10)
Next you will be joining this piece to the first leg.
R4 Chain 1, sc 10 around the first leg, sc 1 into the ch 1 space, sc 10 around the second leg, sc 1 in to the ch 1 space (22)
R5 (sc 9, dec) two times (20)
R6 (sc 8, dec) two times (18)
R7 sc in each st around (18)
R8 (sc 7, dec) two times (16)
R9 sc in each st around (16)
R10 (sc 2, dec) four times (12)
Finish with a sl st. Cut a long tail for sewing
TAIL
With P, chain 6.
Skip first ch, sl st 5.
Fasten off. Cut a long tail for sewing.
BACKPACK
R1 With B, sc 6 in magic ring (6)
R2 inc in each st around (12)
R3 (sc 5, inc) two times (14)
R4-5 sc in each st around (14)
R6 (sc 5, dec) two times (12)
R7 (sc 1, dec) four times, ch 1 and turn (8)
Next you will be crocheting the front flap working in rows.
Skip first ch, inc, sc 2, inc, ch 1 and turn.
Skip first ch, sc 6, ch 1 and turn.
Skip first ch, dec, sc 2, dec.
Fasten off. Cut a long tail for sewing. Stuff the bag and sew the flap closed.
For the backpack straps (make 2):
With B, chain 10.
Fasten off. Cut a long tail for sewing. Sew the straps to the backpack.
HAT
R1 With R, sc 6 in magic ring (6)
R2 inc in each st around (12)
R3 (sc 5, inc) two times (14)
R4 sc in each st around (14)
Finish with a sl st. Cut a long tail for sewing.
For the brim of the hat:
With W, sc 5 in magic ring, ch 1 and turn.
Skip first ch, inc five times
Fasten off. Cut a long tail for sewing. Sew the flat edge of the brim to the hat.

What if we wanted to make this 12 inches tall instead of the mini? Do you have a pattern available for purchase?