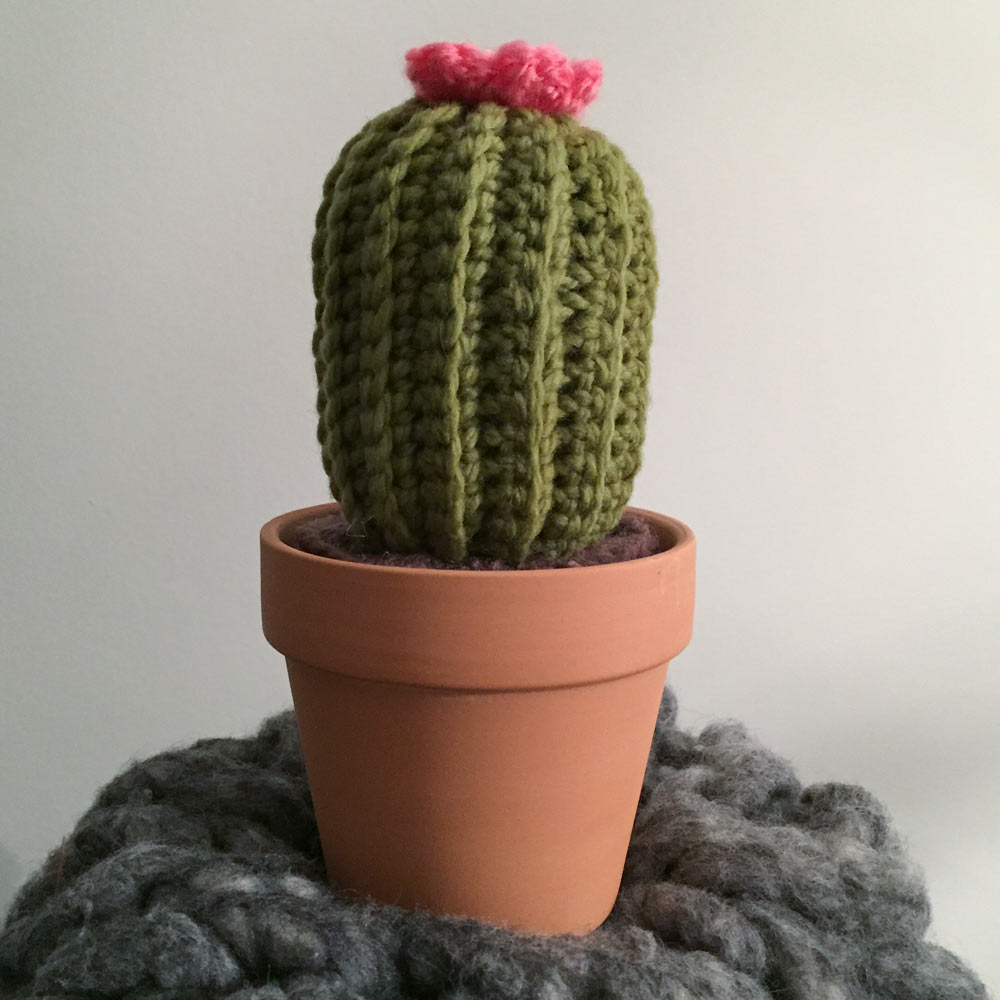
I try my darndest to keep my houseplants alive and well but I must admit, I’m not the best at remembering to water them.
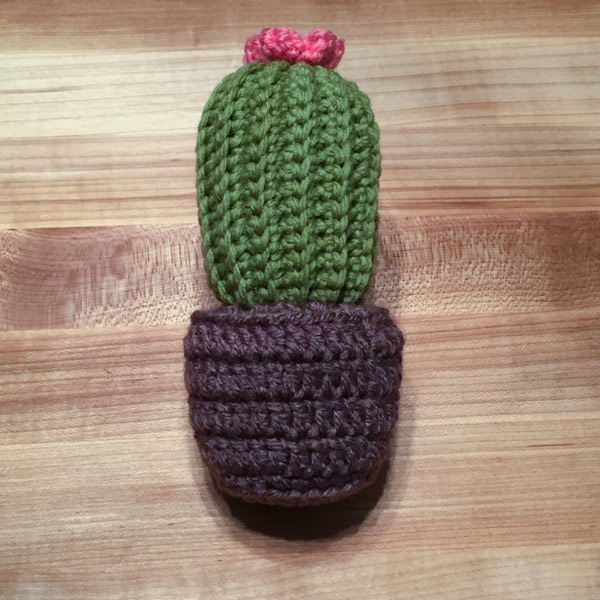
Imagine a plant that added much-needed greenery to your home, and requires no attention at all to keep it alive. That doesn’t exist, of course, but I think I know the next best thing. An amigurumi cactus!
Here are all the materials that you are going to need.
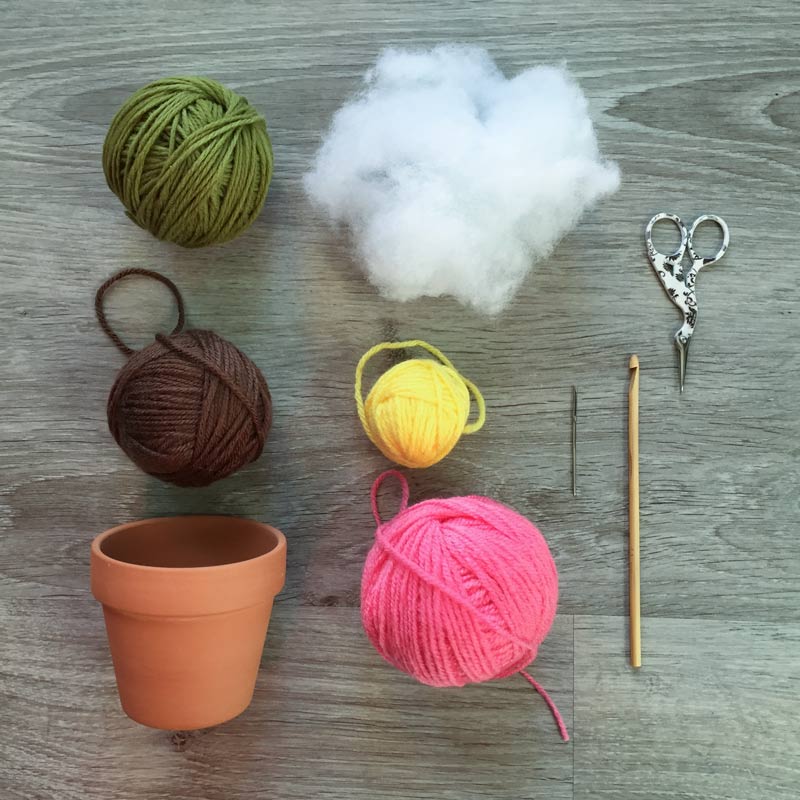
The green yarn is for the cactus, the brown yarn is for the dirt, and the yellow and pink are for the flower. I used a 4.5 mm hook and worsted weight yarn. You will also need polyester filling, scissors, and a yarn needle for finishing and assembly. The terra cotta pot that I used have a bottom diameter of 6 cm, and the diameter of the top is 8 cm. I bought the pot in a set of three at the dollar store but you can use any container you wish.
CACTUS PATTERN
With green, ch 17.
R1: Skip first ch from hook, sl st 1, sc 14, sl st 1, ch 1 and turn
Each of the following rows will be crocheted into the back loops only to create the vertical ridges of the cactus body.
R2-24: In back loops only, skip first ch from hook, sl st 1, sc 14, sl st 1, ch 1 and turn
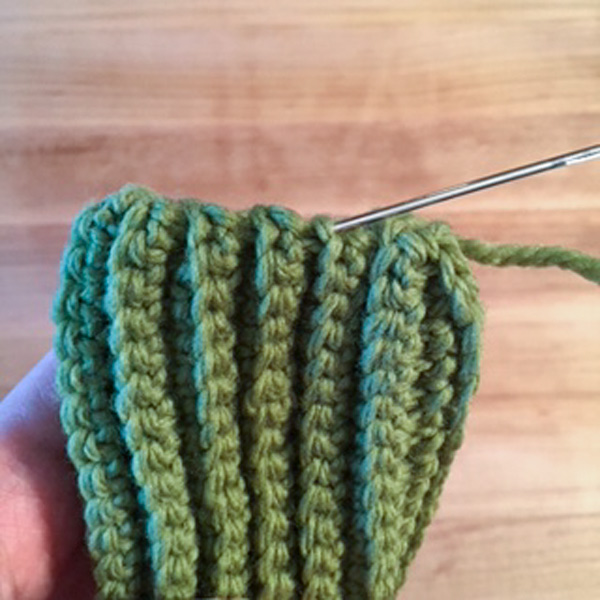
After row 24, you should have rectangular-ish piece where the sides will bulge out due to the slip stitches at the start and end of each round.
The final row will join the two sides of the piece to form a cylinder. You will be crocheting the following row into the back loops of R24 and the initial chain at the same time.
R25: Skip first ch from hook, sl st 1, sc 14, sl st 1
Cut a long tail and draw the tail through the remaining loop on the hook to fasten off.
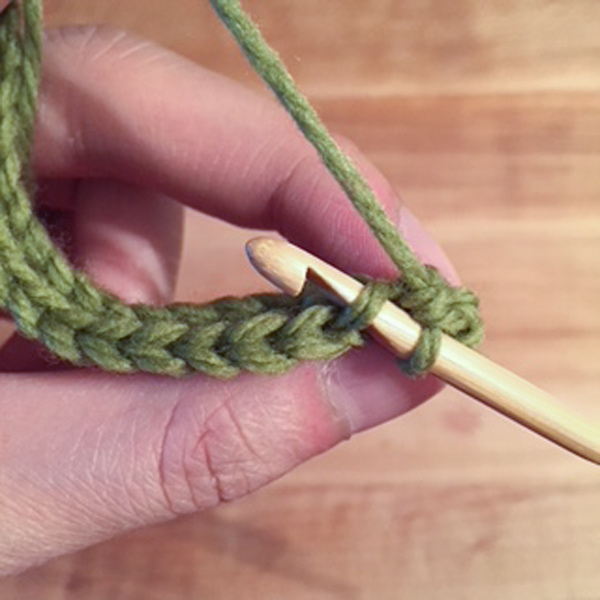
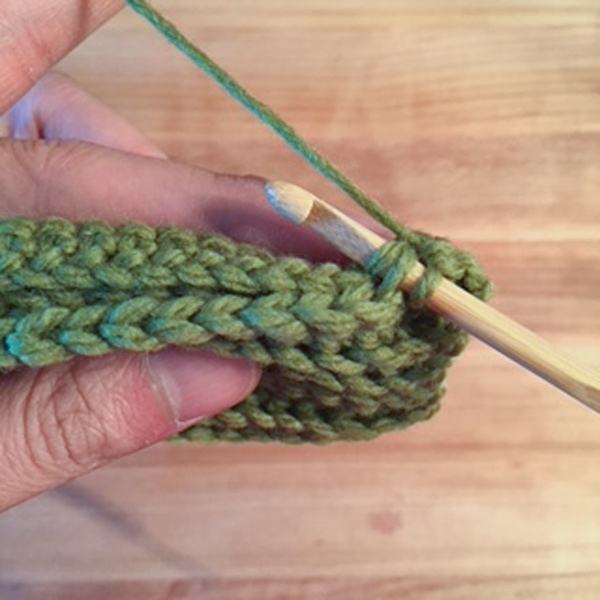
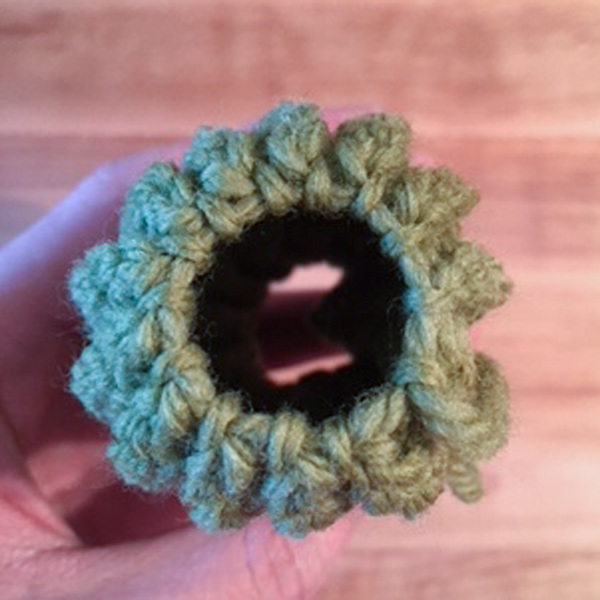
To close up one end of the cactus, thread a yarn needle with the tail and sew into the “bumps” at the end of each row. See the pictures below.
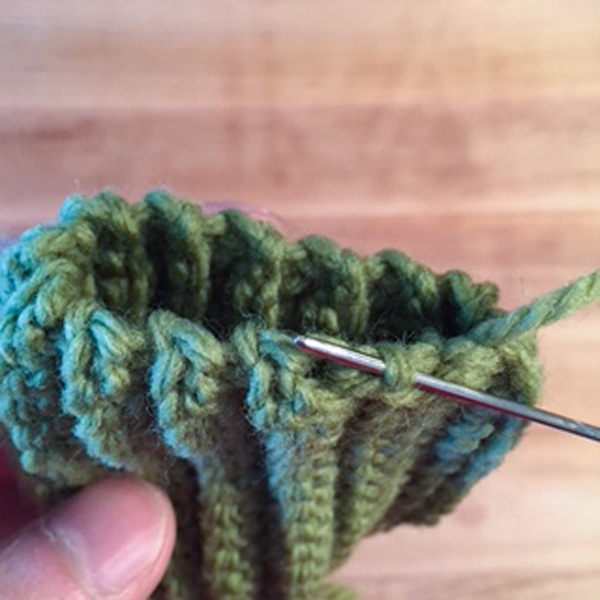
Once you have gone through each bump, pull the tail tight to close up the opening. Weave in the tail to hide it.
DIRT PATTERN
I used a terra cotta pot about 10 cm tall. If you are using a different sized pot, you can add/subtract rows in between rows 7 and 8 to match the height of your pot.
R1: With brown, ch 2, dc 12 in magic ring, sl st to join round (12)
R2: ch 2, dcinc twelve times, sl st to join round (24)
R3: In back loops only, (sc 3, inc) six times, sl st to join round (30)
R4-5: ch 2, dc 30, sl st to join round (30)
R6: ch 2, (dc 3, dcinc) six times, sl st to join round (36)
R7: ch 2, dc 36, sl st to join round (36)
R8: In back loops only, (sc 4, dec) six times (30)
R9: (sc 3, dec) six times (24)
R10: (sc 2, dec) six times (18)
R11: dec nine times (9)
Finish with a sl st. Cut a short tail and weave in.
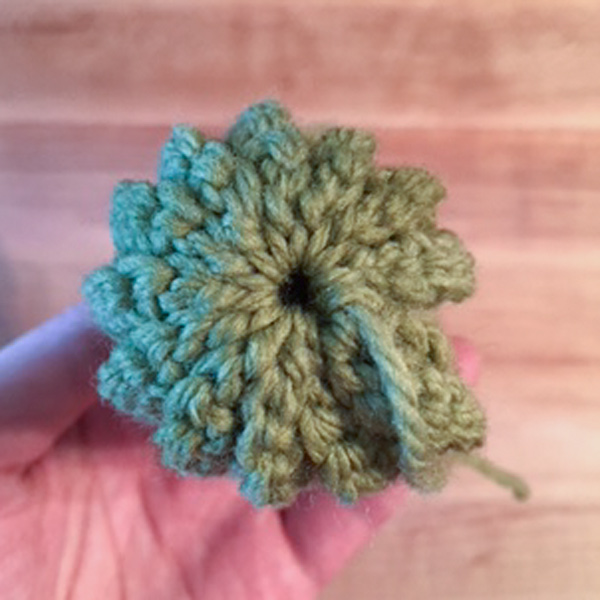
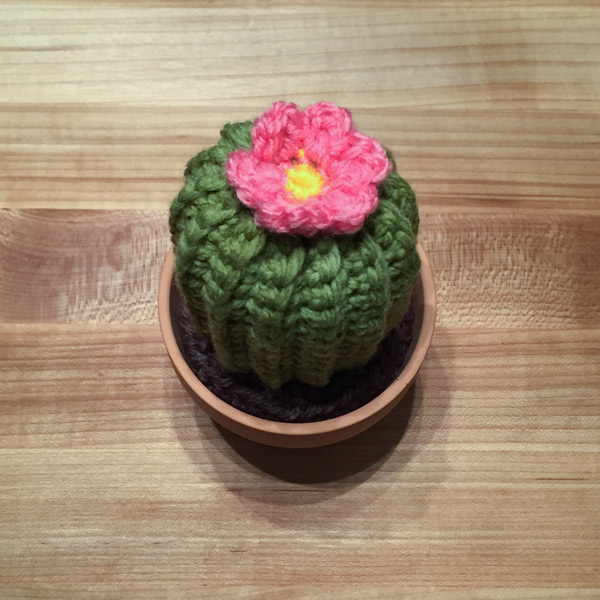
FLOWER PATTERN
R1: With yellow yarn, sc 6 into a magic ring, sl st to join round
R2: Switch to pink yarn, ch 1, [hdc 1, dc 3, sl st 1] into each st around
Finish with a sl st. Cut a long tail for sewing.
ASSEMBLY
Cut a strand of green yarn and use it to sew the CACTUS onto the DIRT.
Sew the FLOWER onto the top of the CACTUS.
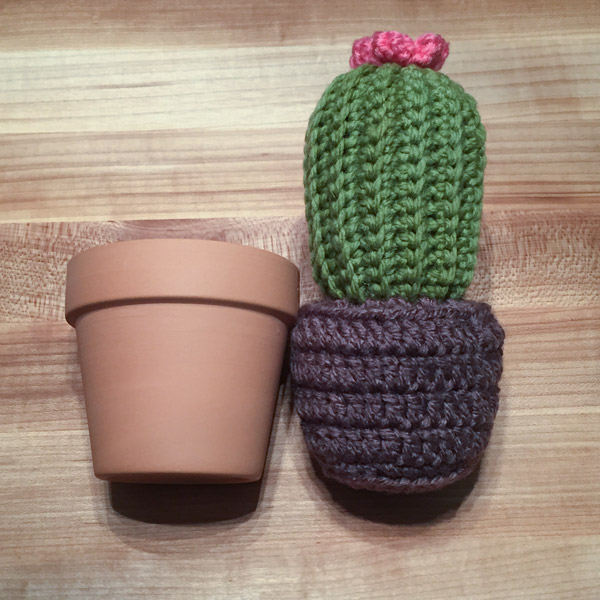
The finished piece should now fit snug into the pot.

I love all your patterns – they are wonderful ! Thanks very much for sharing.
Thanks for the great pattern! What yarn and hook size do you recommend for this?
Any worsted weight yarn should do. For hook size, I recommend 4.5 mm or 5.0mm.
Thank you!