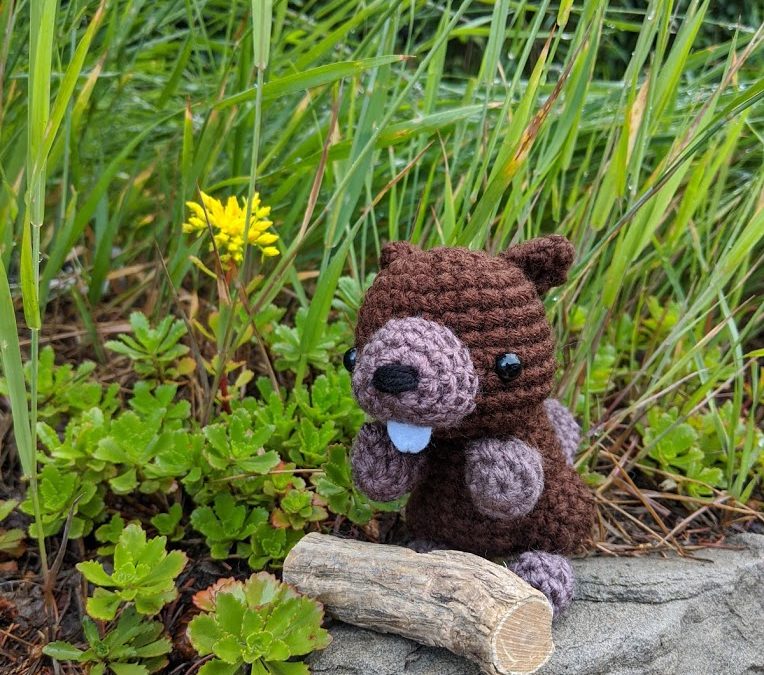
Beavers are one of the world’s largest rodents and known for their architectural expertise in building river dams and homes which are called lodges. They never stop working and are constantly perfecting their homes which are large domes of carefully curated branches. These lodges have entrances from underwater and lead to a dry interior where they rest and raise their beaver pups. Much more impressive than any pillow and blanket fort that I’ve ever made.
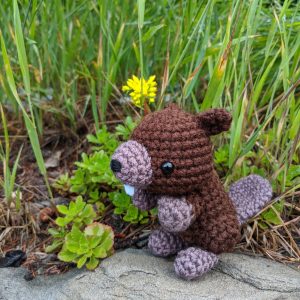
Some physical characteristics that are key to their adeptness include their sharp front teeth for chewing and cutting wood, and their paddle-shaped tail that acts as a rudder when they swim. Did you know that a beaver’s teeth never stop growing? Their constant chewing and biting on wood keeps their teeth from growing too long.
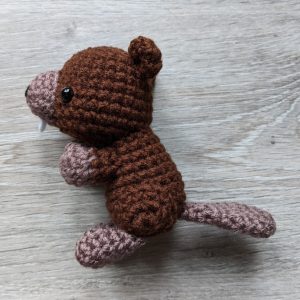
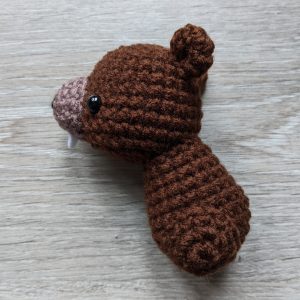
For this pattern, you will need two shades of brown. I used a darker brown for the main head and body, and a lighter brown for the hands, feet, and tail. I decided on a piece of felt cut into a U-shape to act as the teeth.
The North American beaver is the national animal of Canada and I wanted to share this pattern with you to celebrate Canada Day (July 1). I hope you enjoy crocheting our Canadian mascot!
MATERIALS
Yarns – dark brown (D), brown (B)
black yarn or embroidery thread
white felt
polyester fibrefill
two 8.0 mm safety eyes
white or tacky glue
size 8 (5.0 mm) crochet hook [I use hooks from Laurel Hill]
yarn needle [I use the bent tip needles from Clover]
ABBREVIATIONS
ch = chain
st = stitch
sc = single crochet
sl st = slip stitch
inc = single crochet 2 into the same stitch
dec = decrease over next two stitches (single crochet 2 stitches together or use invisible decrease)
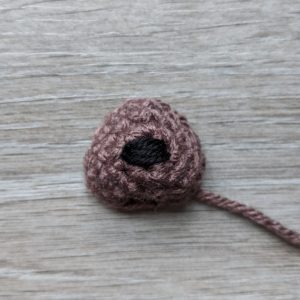
MUZZLE
R1 With B, sc 6 into magic ring (6)
R2 inc in each st around (12)
R3 sc 1, inc, sc 8, inc, sc 1 (14)
Finish with a sl st. Cut a long tail for sewing.
Cut a strand of black yarn/thread and embroider a nose.
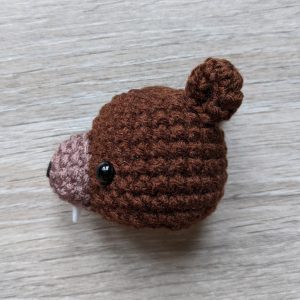
HEAD
R1 With D, sc 6 into magic ring (6)
R2 inc in each st around (12)
R3 (sc 1, inc) six times (18)
R4 (sc 2, inc) six times (24)
R5-7 sc in each st around (24)
R8 (sc 3, inc) six times (30)
R9-10 sc in each st around (30)
R11 (sc 3, dec) six times (24)
R12 (sc 2, dec) six times (18)
R13 (sc 1, dec) six times (12)
Before R14, insert safety eyes below R8 and 8 stitches apart.
R14 dec six times (6)
Finish with a sl st. Cut a short tail for sewing. Stuff and sew the opening closed.
EAR (Make 2)
R1 With D, sc 6 into magic ring (6)
R2 (inc, inc, sc 1) two times (10)
R3 (sc 3, dec) two times (8)
Finish with a sl st. Cut a long tail for sewing.
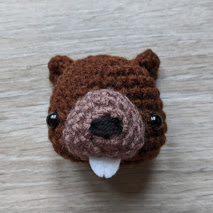
HEAD ASSEMBLY
Sew the muzzle between the eyes so that the top of the muzzle is below R5.
Fold the ears in half and sew to the sides of the head.
Cut a pair of teeth out of white felt and glue to the bottom of the muzzle.
BODY
R1 With D, sc 6 in magic ring (6)
R2 inc in each st around (12)
R3 (sc 1, inc) six times (18)
R4 (sc 2, inc) six times (24)
R5-6 sc in each st around (24)
R7 (sc 4, dec) four times (20)
R8 sc in each st around (20)
R9 (sc 8, dec) two times (18)
R10 sc in each st around (18)
R11 (sc 7, dec) two times (16)
Finish with a sl st. Cut a long tail for sewing.
ARM (Make 2)
R1 With B, sc 6 into magic ring (6)
R2 (inc, inc, sc 1) two times (10)
R3 (sc 3, dec) two times (8)
R4 With D, sc in each st around (8)
R5 (sc 2, dec) two times (6)
Finish with a sl st. Cut a long tail for sewing.
THIGH (Make 2)
R1 With D, sc 6 into magic ring (6)
R2 inc in each st around (12)
R3 sc in each st around (12)
Finish with a sl st. Cut a long tail for sewing.
FOOT (Make 2)
R1 With B, sc 6 into magic ring (6)
R2 (inc, inc, sc 1) two times (10)
R3 sc in each st around (10)
R4 (sc 3, dec) two times (8)
R5 sc in each st around (8)
R6 (sc 2, dec) two times (6)
Finish with a sl st. Cut a long tail for sewing.
TAIL
R1 With B, sc 6 in magic ring (6)
R2 inc in each st around (12)
R3 (sc 5, inc) two times (14)
R4 sc in each st around (14)
R5 (sc 5, dec) two times (12)
R6 sc in each st around (12)
R7 (sc 4, dec) two times (10)
R8 sc in each st around (10)
R9 (sc 3, dec) two times (8)
R10 sc in each st around (8)
Finish with a sl st. Cut a long tail for sewing.
ASSEMBLY
Sew the head to the body as shown.
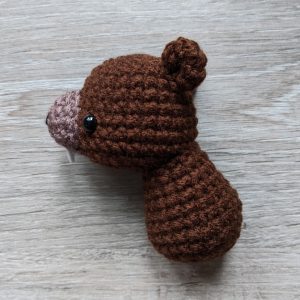
Sew the thighs to the sides of the body near the bottom.
.
Sew the arms, feet, and tail to the body.