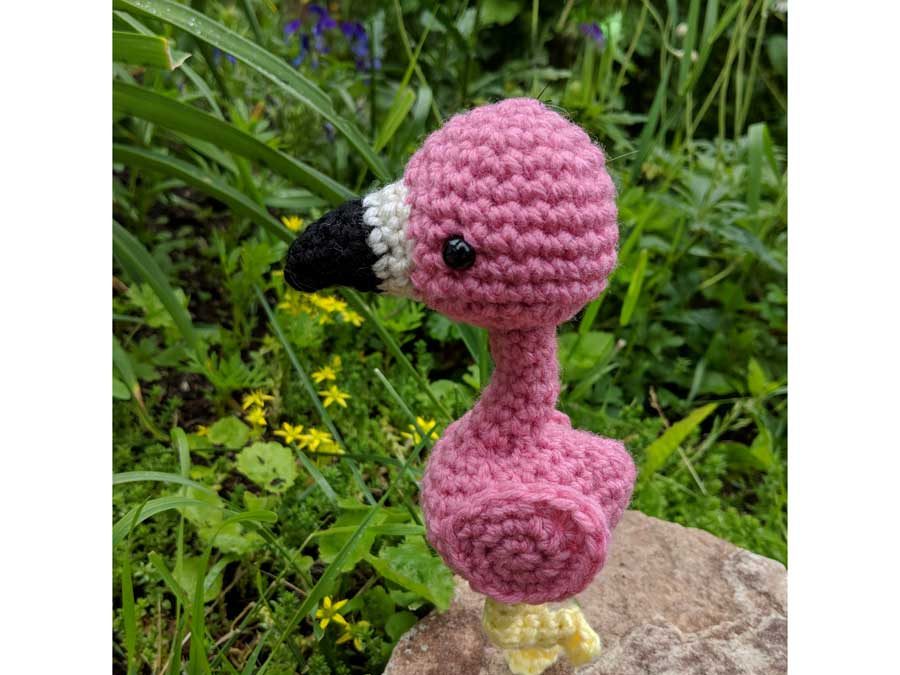
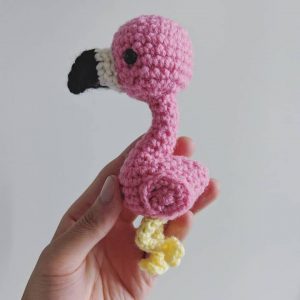
When I think of an animal mascot of the summer, I picture a flamingo. The image of that distinctive pink plumage and sassy bent leg just screams tropical elegance.
This flamingo amigurumi pattern is fairly simple but there is a neat shaping trick that I used for the bend of the neck. To direct the neck to bend forward, you place an increase at the beginning and end of the round, and place two decreases next to each other in the middle of the round.
In the BODY pattern, it is written out as “inc, sc 1, dec, dec, sc 1, inc”.
I often use this shaping method to make my work angle forward or backward slightly. There are so many ways to use it but the flamingo’s neck is the perfect way to show it off!
MATERIALS
Yarns – Pink (A), Black (B), Cream (C), Yellow (D)
8 mm safety eyes
polyester fibrefill
size 7 (4.5 mm) crochet hook
yarn needle
pipe cleaner
ABBREVIATIONS
ch = chain
st = stitch
sc = single crochet
hdc = half-double crochet
inc = single crochet 2 into the same stitch
dec = decrease over next two stitches (single crochet 2 stitches together or use invisible decrease)
[…] = instructions in square brackets are completed in the same stitch
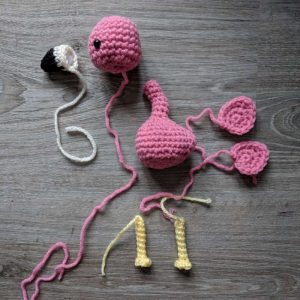
BEAK
R1: With B, sc 5 into magic ring (5)
R2: sc 2, inc, sc 2 (6)
R3: inc, sc 4, inc (8)
R4: (inc, sc 1) two times, (sc 1, inc) two times (12)
R5: sc in each st around (12)
R6-7: Switch to C, sc in each st around (12)
Finish with a sl st. Leave a long tail for sewing.
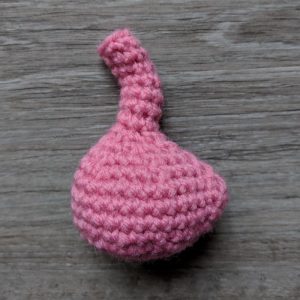
BODY
R1: With A, sc 6 into magic ring (6)
R2: inc in each st around (12)
R3: (sc 1, inc) six times (18)
R4: (sc 2, inc) six times (24)
R5: (sc 3, inc) six times (30)
R6: (sc 14, inc) two times (32)
R7: (sc 15, inc) two times (34)
R8: (sc 16, inc) two times (36)
R9: sc 14, dec, dec, dec, dec, sc 14 (32)
R10: sc 14, dec, dec, sc 14 (30)
R11: (sc 3, dec) three times, (dec, sc 3) three times (24)
R12: (sc 2, dec) three times, (dec, sc 2) three times (18)
R13: (sc 1, dec) six times (12)
R14: (sc 1, dec) four times (8)
R15-16: sc in each st around (8)
R17: inc, sc 1, dec, dec, sc 1, inc (8)
R18-19: sc in each st around (8)
Finish with a sl st. Leave a short tail and weave in.
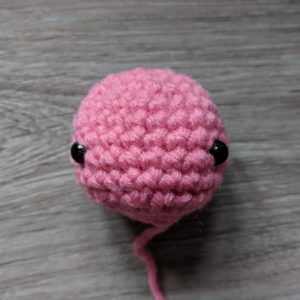
HEAD
R1: With A, sc 6 into magic ring (6)
R2: inc in each st around (12)
R3: (sc 1, inc) six times (18)
R4: (sc 2, inc) six times (24)
R5-9: sc in each st around (24)
R10: (sc 2, dec) six times (18)
R11: (sc 1, dec) six times (12)
Before closing up the hole, insert the safety eyes 7 rows down from the top and 8 stitches apart.
R12: dec six times (6)
Finish with a sl st. Leave a long tail for sewing.
WING (Make 2)
R1: With A, sc 6 into magic ring (6)
R2: inc in each st around (12)
R3: (sc 1, inc) three times, (inc, sc 1) three times (18)
Finish with a sl st. Leave a long tail for sewing.
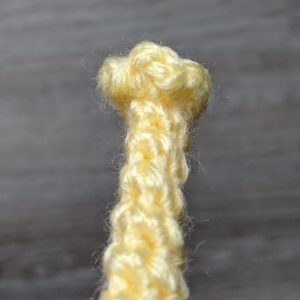
LEGS
With D, ch 5. Join with the first ch on the hook with a sl st to form a round.
R1-8: sc in each st around (5)
R9: sc 1, [hdc, ch 1, sl st 1] three times, sc 1 (5)
Finish with a sl st. Leave a short tail and weave in.
Cut a pipe cleaner the length as the leg and insert it through the leg.
ASSEMBLY
Sew the BEAK to the HEAD.

Sew the HEAD to the BODY.
Sew the WINGS to the BODY.
Sew the LEGS to the BODY.

Thanks for sharing! Absolutely dorable!
So cute, working on it 😍
Love this cute pattern. Can’t wait to make it.
Thanks for sharing👌 So cute😍
You’re very welcome!
Will the flamingo be bigger if I use a larger hook or do I need to change up the pattern too?
You’ll get a slightly larger flamingo. No need to alter the pattern.
Im stuck on the legs. Are both sides open?
Both sides will have an opening but you can close it up by sewing it.
Hi! I love this pattern. I’m making it for a little boy who is a patient of mine who loves flamingos! My question is do we slip stitch at the end of each row starting with the magic circle?
Thank you for the pattern and your time!
Hello Jennifer, you do not need to slip stitch at the end of each row.
Lovely and easy pattern, thank you! Tried it in plushie yarn and it’s worked so well