I was very lucky to receive some Paintbox Cotton Aran yarn sent to me from LoveCrochet.com and I’m stoked to be collaborating with them by designing a Sea Turtle amigurumi with the Paintbox yarn.
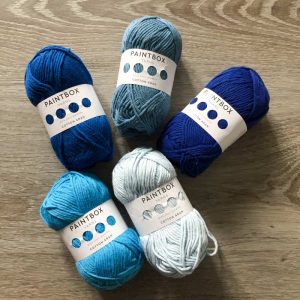
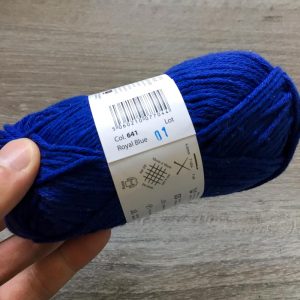
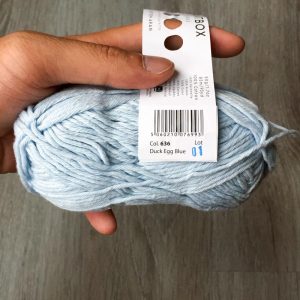
The colours on top from the left: Sailor Blue (col. 640), Dolphin Blue (col. 637), Royal Blue (col.641). The colours on the bottom from the left: Sky Blue (col. 639), Duck Egg Blue (col. 636).
The colours of the Paintbox yarns are beautifully vibrant. Crocheting with the yarn feels smooth in your hands and in an amigurumi project, the cotton yarn holds its shape together really well. I used a 4.5 mm crochet hook for my Sea Turtle amigurumi and the stitches are even and spaced out with very little gaps in between, which is really important so that the polyfill stuffing doesn’t show through the work. If you can get your hands on Paintbox Cotton Aran for your next amigurumi project, I highly recommend it!
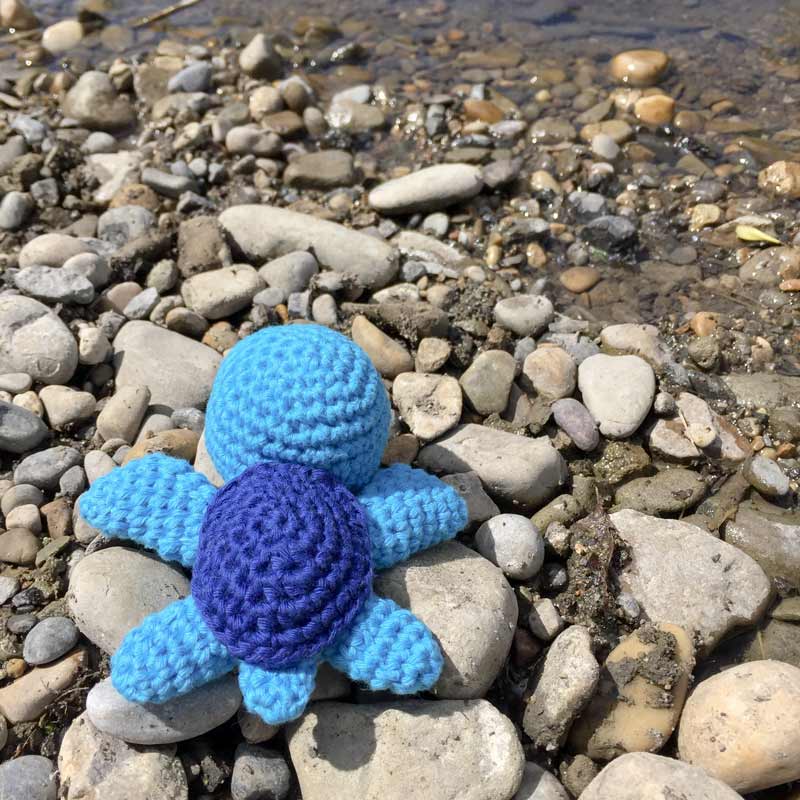
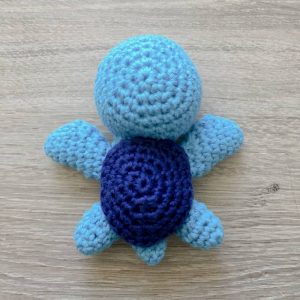
For my Sea Turtle amigurumi, I used Sky Blue for the head and body, Royal Blue for the shell top, and Duck Egg Blue for the bottom of the shell. By the way, “Duck Egg Blue” is quite possibly my favourite name for a colour ever.
Materials:
Sky Blue (A), Royal Blue (B), Duck Egg Blue (C) cotton aran yarn
8 mm safety eyes
polyester fibrefill
size 7 (4.5 mm) crochet hook
yarn needle
Abbreviations:
ch = chain
st = stitch
sc = single crochet
hdc = half double crochet
inc = single crochet 2 into the same stitch
dec = decrease over next two stitches (single crochet 2 stitches together or use invisible decrease)
sl st = slip stitch
HEAD
R1: With A, sc 6 into magic ring (6)
R2: inc in each st around (12)
R3: (sc 1, inc) six times (18)
R4: (sc 2, inc) six times (24)
R5: (sc 3, inc) six times (30)
R6: sc 13, inc, inc, inc, inc, sc 13 (34)
R7: sc in each st around (34)
R8: sc 13, dec, dec, dec, dec, sc 13 (30)
R9: (sc 3, dec) six times (24)
R10: dec twelve times (12)
Insert the safety eyes at this point and stuff firmly with polyfill before closing up the head in the next row.
R11: dec six times (6)
Finish with a sl st. Cut a short tail and weave in.
BODY
R1: With A, sc 8 into magic ring (8)
R2: sc 1, inc, inc, sc 2, inc, inc, sc 1 (12)
R3: (sc 1, inc) six times (18)
R4: (sc 2, inc) six times (24)
R5-6: sc in each st around (24)
R7: (sc 4, dec) four times (20)
R8: sc in each st around (20)
R9: (sc 8, dec) two times (18)
R10: sc in each st around (18)
R11: (sc 7, dec) two times (16)
R12: sc in each st around (16)
Finish with a sl st. Leave a long tail for sewing.
ARM (Make 2)
R1: With A, sc 6 into magic ring (6)
R2: (sc 1, inc) three times (9)
R3: sc in each st around (9)
R4: (sc 2, inc) three times (12)
R5: sc in each st around (12)
R6-7: inc, sc 3, dec, dec, sc 3, inc (12)
R8: (sc 1, dec) four times (8)
Finish with a sl st. Leave a long tail for sewing.
LEG (Make 2)
R1: With A, sc 6 into magic ring (6)
R2: (sc 1, inc) three times (9)
R3: sc in each st around (9)
R4: (sc 2, inc) three times (12)
R5: (sc 4, dec) two times (10)
Finish with a sl st. Leave a long tail for sewing.
TAIL
R1: With A, sc 6 into magic ring (6)
R2: (sc 2, inc) two times (8)
R3: sc in each st around (8)
R4: (sc 3, inc) two times (10)
Finish with a sl st. Leave a long tail for sewing.
SHELL TOP
Note: Instructions in [ ] are intended to be crocheted into the same stitch. For example, [sc 1, hdc 1] means to make a single crochet and a half double crochet into the same stitch creating an increase.
R1: With B, sc 6 into magic ring (6)
R2: inc, inc, [sc 1, hdc 1], [hdc 1, sc 1], inc, inc (12)
R3: (sc 1, inc) two times, sc 1, [sc 1, hdc 1], [hdc 1, sc 1], sc 1, (inc, sc 1) two times (18)
R4: (sc 2, inc) two times, sc 2, [sc 1, hdc 1], [hdc 1, sc 1], sc 2, (inc, sc 2) two times (24)
R5: (sc 3, inc) two times, sc 3, [sc 1, hdc 1], [hdc 1, sc 1], sc 3, (inc, sc 3) two times (30)
Finish with a sl st. Leave a long tail for sewing.
SHELL BOTTOM
This piece is worked in rows.
With C, chain 5.
R1: Skip first ch from hook, sc 4, ch 1 and turn
R2: Skip first ch from hook, sc 2, inc, sc 1, ch 1 and turn
R3: Skip first ch from hook, sc 2, inc, sc 2, ch 1 and turn
R4-5: Skip first ch from hook, sc 6, ch 1 and turn
R6: Skip first ch from hook, sc 2, dec, sc 2, ch 1 and turn
R7: Skip first ch from hook, sc 5, ch 1 and turn
R8: Skip first ch from hook, dec, sc 1, dec
Next, crocheting around the edge of the piece, sc 18. This will give a clean edging around the perimeter of the piece.
 Finish with a sl st. Leave a long tail for sewing.
ASSEMBLY
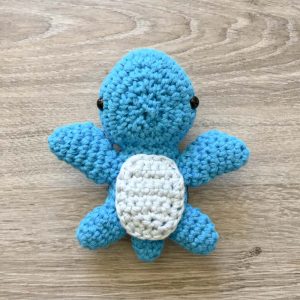
Sew the HEAD, BODY, ARMS, LEGS, and TAIL together as shown.
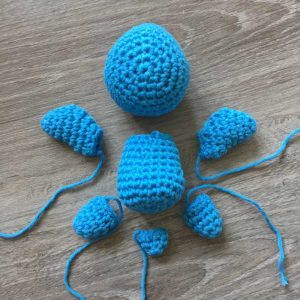
Sew the SHELL TOP onto the back of the body. Sew the SHELL BOTTOM onto the bottom of the body.

This was fun to make! One tiny error to correct – the shell should end “(inc, sc 3) two times (30)” instead of “(inc, sc 1) two times (30)”